Our additional equipment
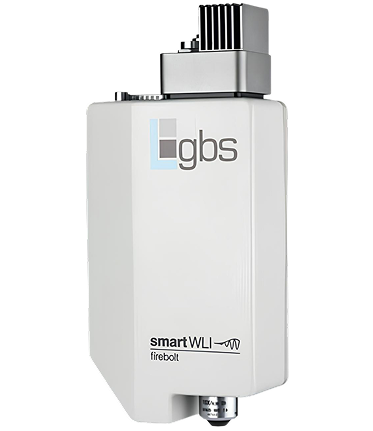
Maximum measurement accuracy requires not only a powerful 3D surface sensor, but also optimally matched accessories. Our range of accessories has been specifically developed to fully exploit the performance of our systems and take your measurement results to a new level.
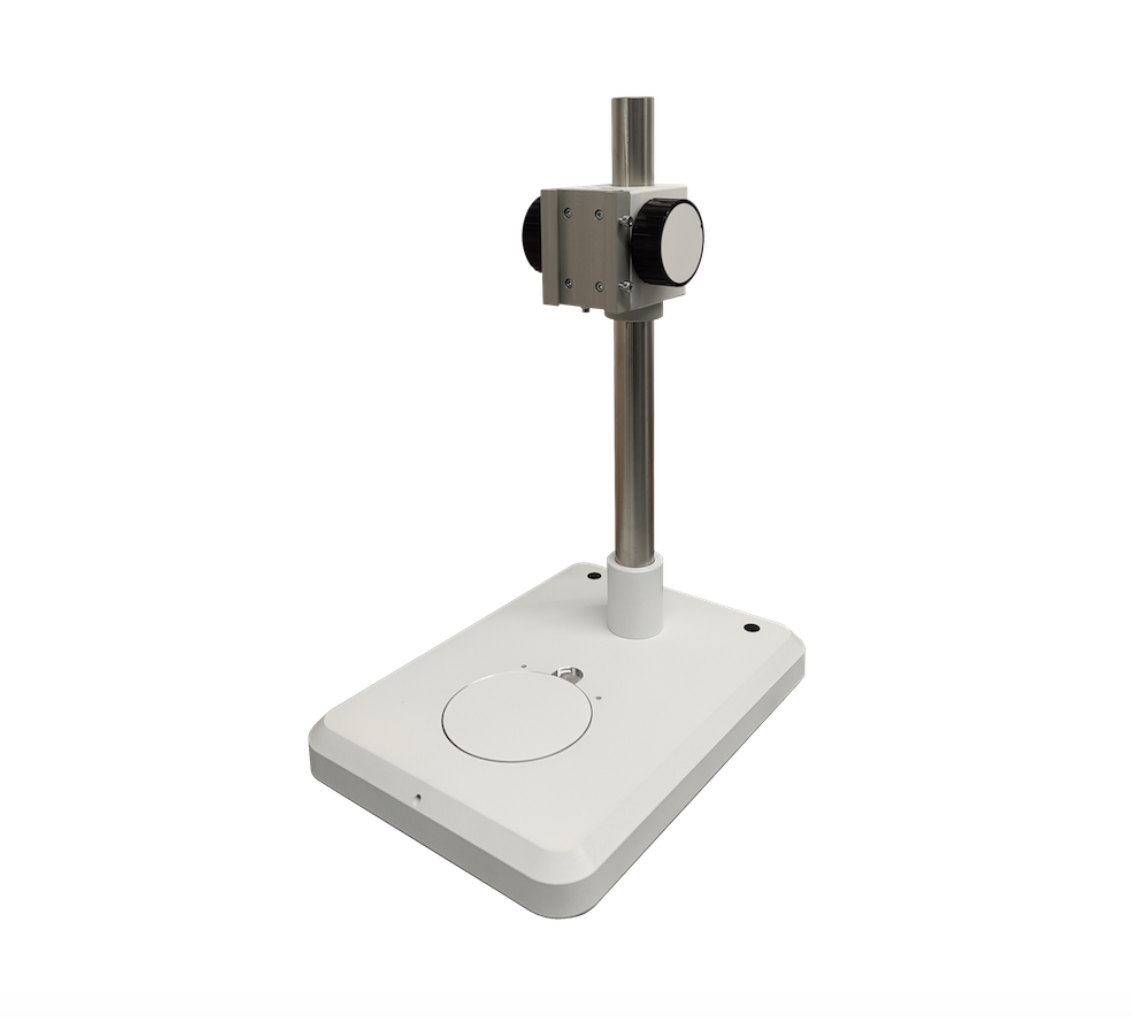
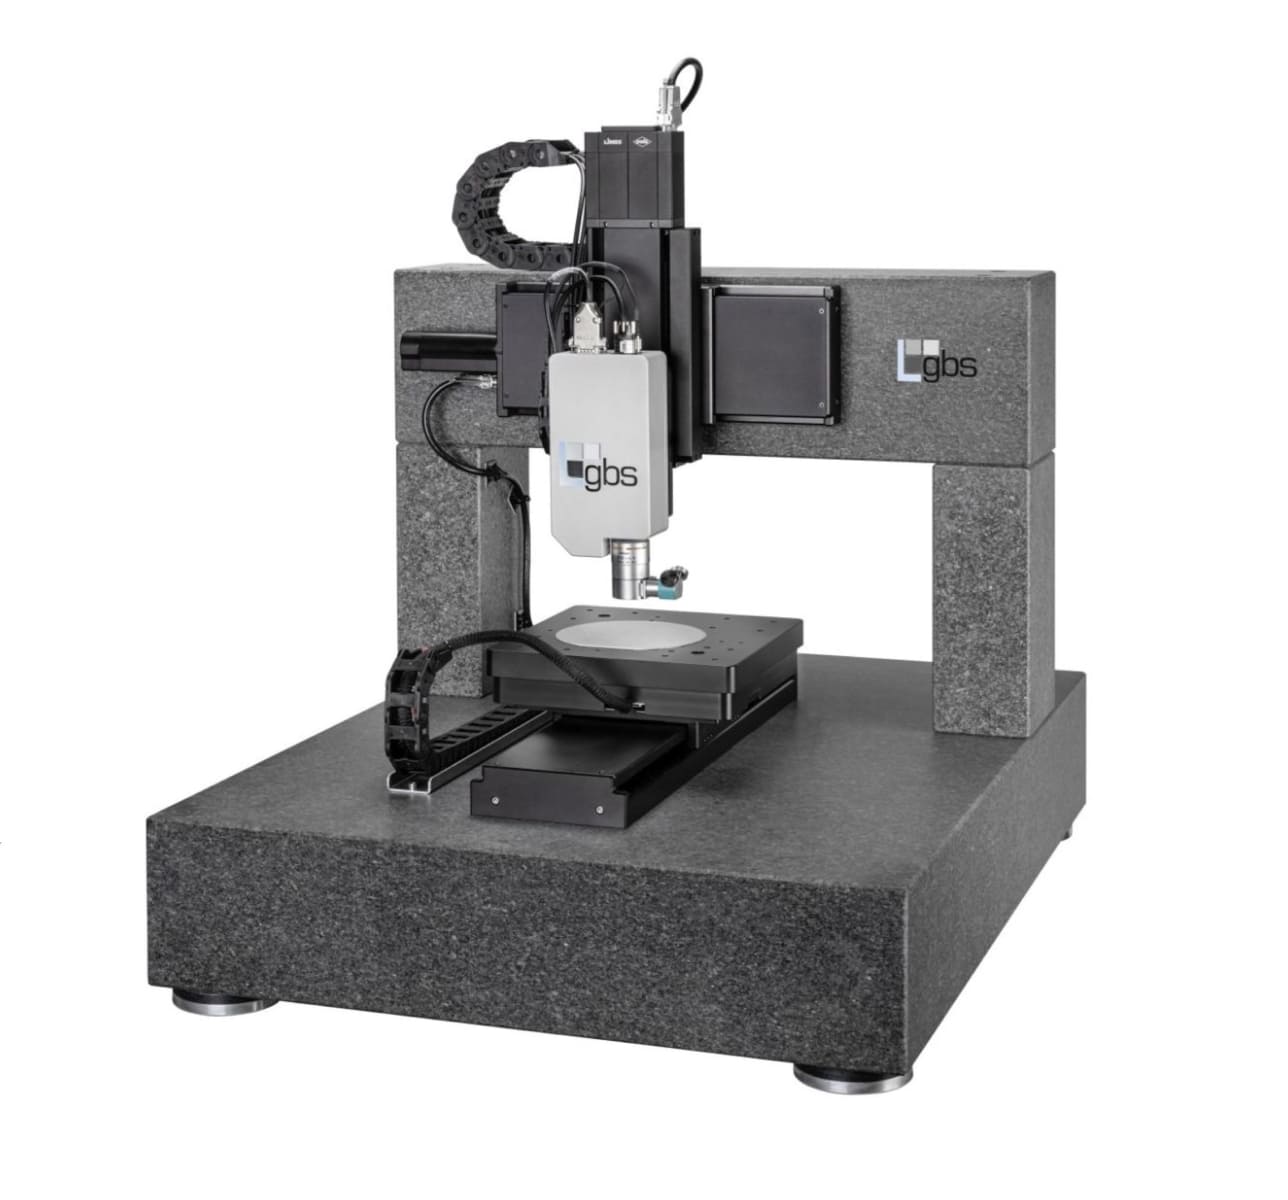
Whether robust tripods or solid granite portals for maximum stability, powerful lenses for a wide range of applications, precise calibration standards to ensure standard-compliant results, or effective vibration isolation to eliminate disruptive environmental influences – every accessory meets the highest standards of quality and functionality.
Invest in the right accessories – and thus in the long-term precision, reproducibility, and reliability of your measurement processes.


Other accessory categories
Maximum measurement accuracy requires not only a powerful 3D surface sensor, but also optimally matched accessories. Our range of accessories has been specifically developed to fully exploit the performance of our systems and take your measurement results to a new level.
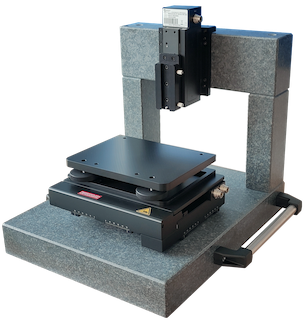
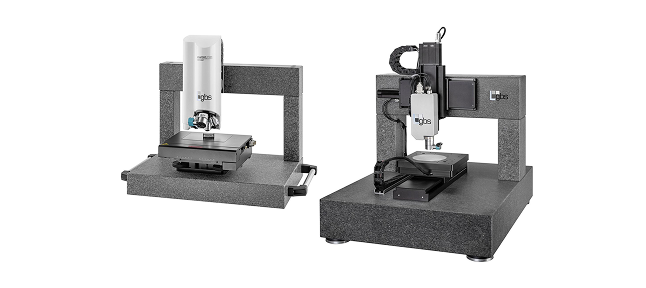
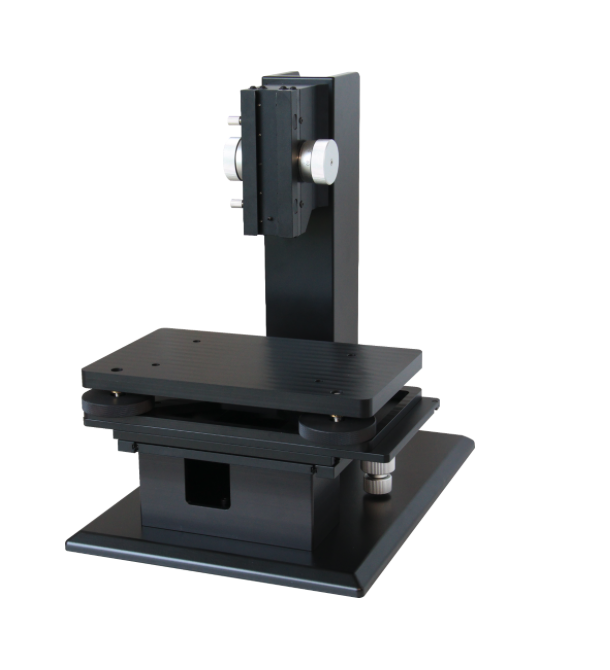
Stands & granite portals
A reliable mechanical foundation is essential for high-precision measurement results. Our stands and granite portals offer maximum stability, vibration damping, and durability—ideal for use with 3D surface measurement systems in laboratory and production environments.
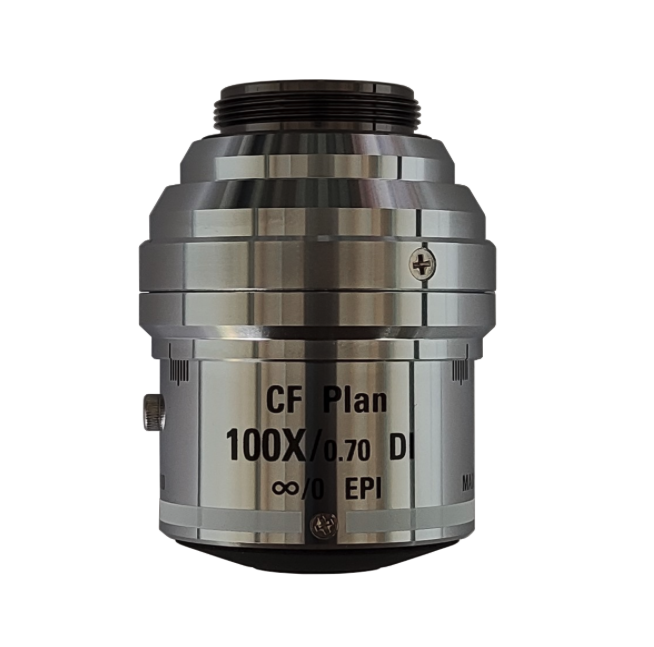
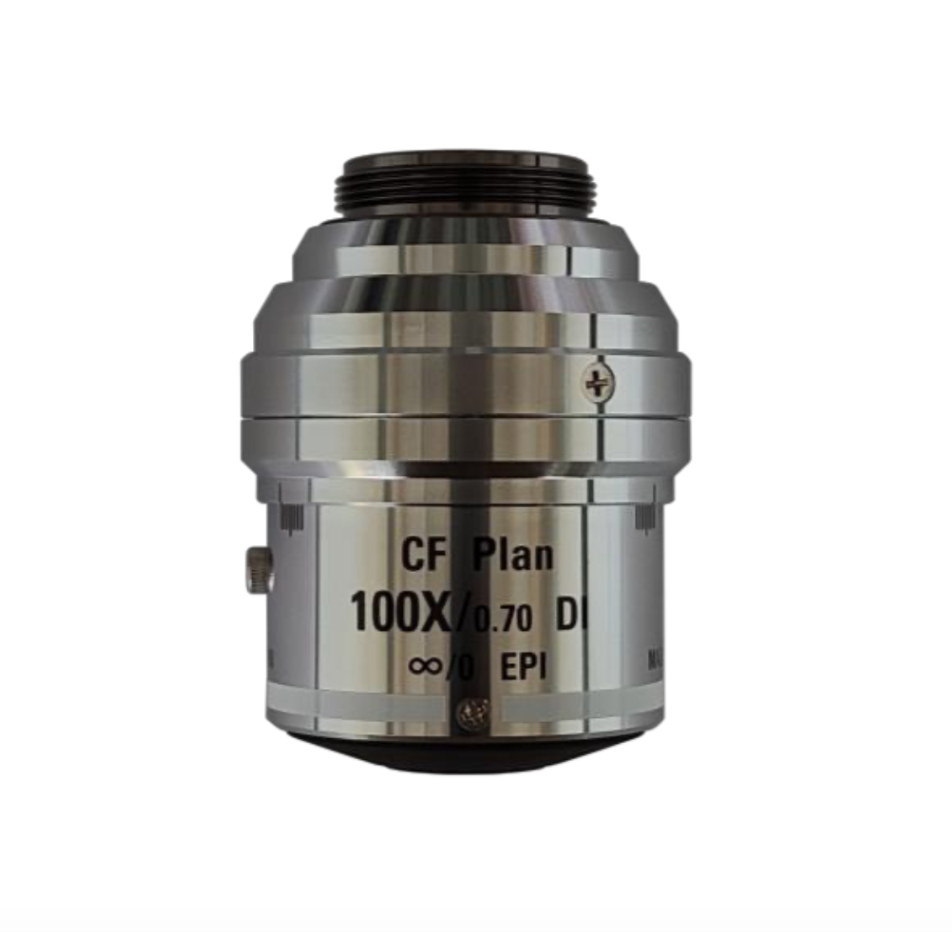
Objective lenses
Choosing the right lens is essential for the quality and significance of your measurement results. Our range includes specially designed lenses for different magnification ranges, working distances, and resolutions. This allows you to flexibly adapt your 3D measurement systems to a wide variety of requirements.
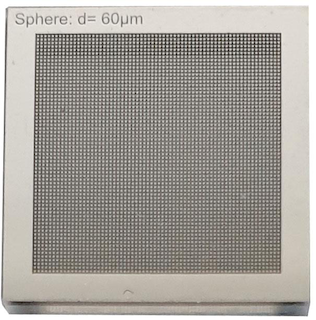
Calibration standards
Regular calibration is essential to ensure long-term measurement accuracy. Our calibration standards are traceable and comply with international standards. They are ideal for system control, quality assurance, and validation of your measurement processes.
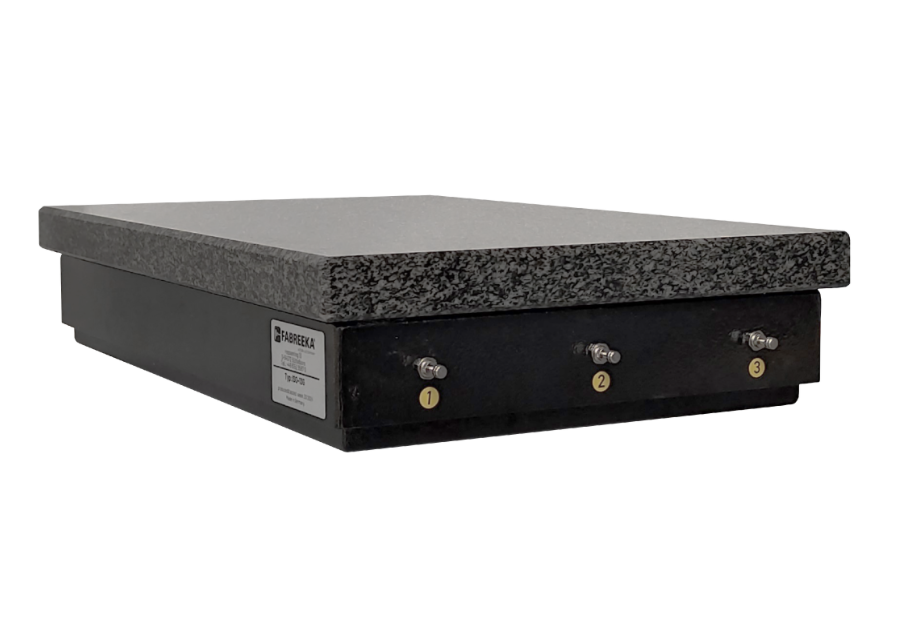
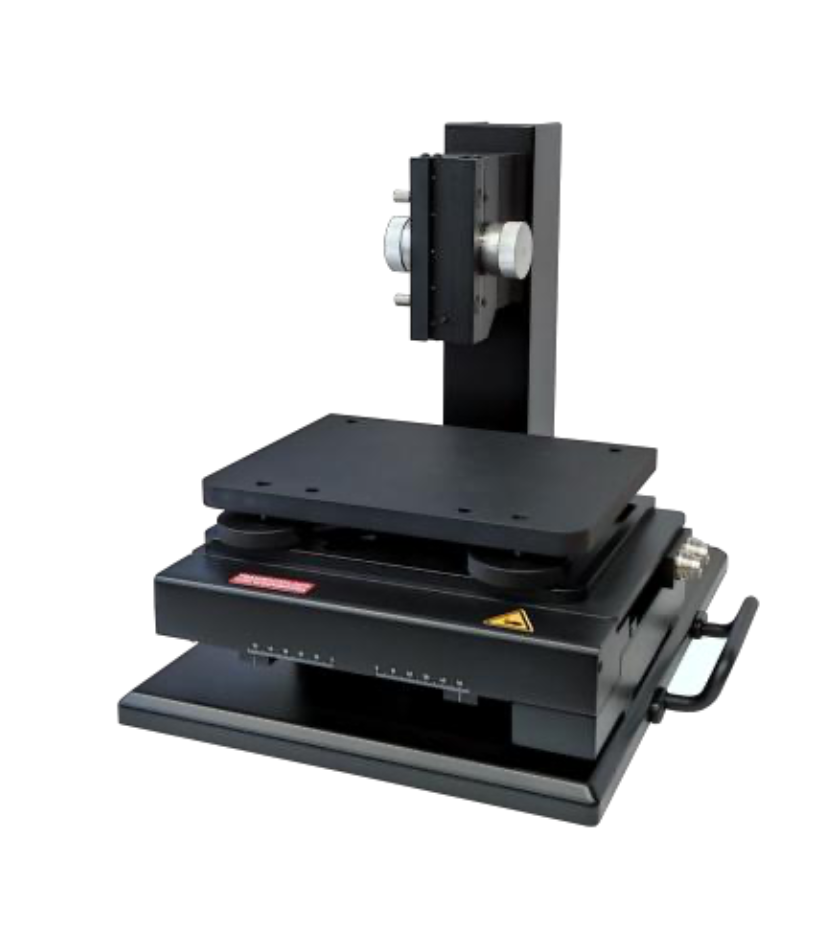
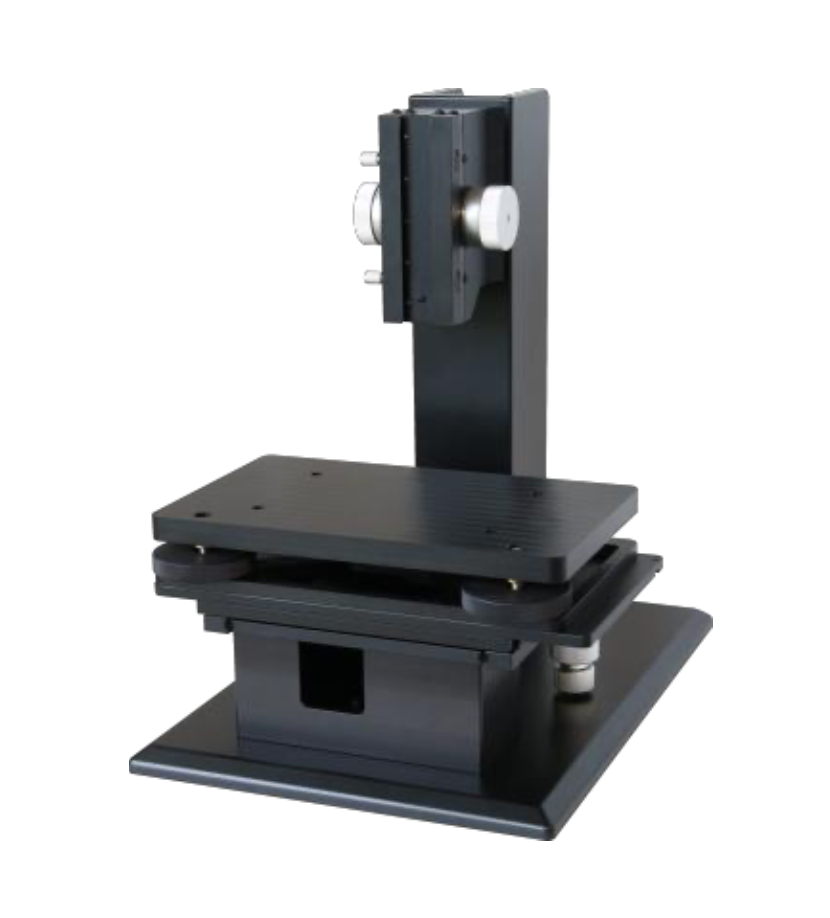
Vibration isolation
Even slight vibrations can negatively affect high-precision 3D measurements. Our vibration isolation systems reliably minimize mechanical disturbances—whether caused by machines, building vibrations, or environmental influences. This ensures stable and reproducible measurement results even in sensitive environments.
Why GBS?
We measure, analyze, and visualize technical surfaces in 3D—from tool steel to semiconductor wafers. Precise. Comparable. Reproducible.
Years of market experience
industrial partners
Made in Germany
systems installed in the last 5 years
Our advantages
GBS metrology GmbH offers advanced optical 3D metrology that perfectly combines precision, reliability, and efficiency. Our non-contact systems for roughness, microstructure, and nanostructure measurements deliver reproducible results, save testing time, and can be flexibly adapted to your individual requirements—ideal for research, development, and modern manufacturing.
In-house product development
Minimal maintenance required
Full automation possible
Faster ROI of products
First-hand support
Short measurement times – real-time evaluation on GPGPUs
